調子に乗ってRubyMineを買った僕です。
今回は、RubyMineとpry-byebugのデバックの違いを簡単に紹介していきます。
まずは、みなさんご存知、pry-byebugです。エディタはAtomを使います。
pry-byebug編
用意するもの
Gemfileに以下を追記
1
2
3
4
5
| group :development, :test do
gem 'pry-rails'
gem 'byebug',
gem 'pry-doc'
end
|
追記した後は、普通にbundle install
後は、デバックしたい場所にbinding.pryを追記するだけです。こんな感じで。
 1
 2
 3
 4
 5
 6
 7
 8
 9
10
11
| def create
@micropost = current_user.microposts.build(micropost_params)
if @micropost.save
binding.pry
flash[:success] = "Micropost created!"
redirect_to root_url
else
@feed_items = []
render 'static_pages/home'
end
end
|
後は、ターミナルで確認します。
 1
 2
 3
 4
 5
 6
 7
 8
 9
10
11
12
13
14
15
16
17
18
19
20
| def create
@micropost = current_user.microposts.build(micropost_params)
if @micropost.save
9: binding.pry
flash[:success] = "Micropost created!"
redirect_to root_url
else
@feed_items = []
render 'static_pages/home'
end
end
[1] pry(#<MicropostsController>)> @micropost
=> #<Micropost:0x00007fc50a0661f8
id: 302,
content: "test",
user_id: 1,
created_at: Wed, 09 May 2018 11:57:43 UTC +00:00,
updated_at: Wed, 09 May 2018 11:57:43 UTC +00:00,
picture: nil>
|
RubyMine編
用意するもの
1
2
| $ gem install ruby-debug-ide
$ gem install debase
|
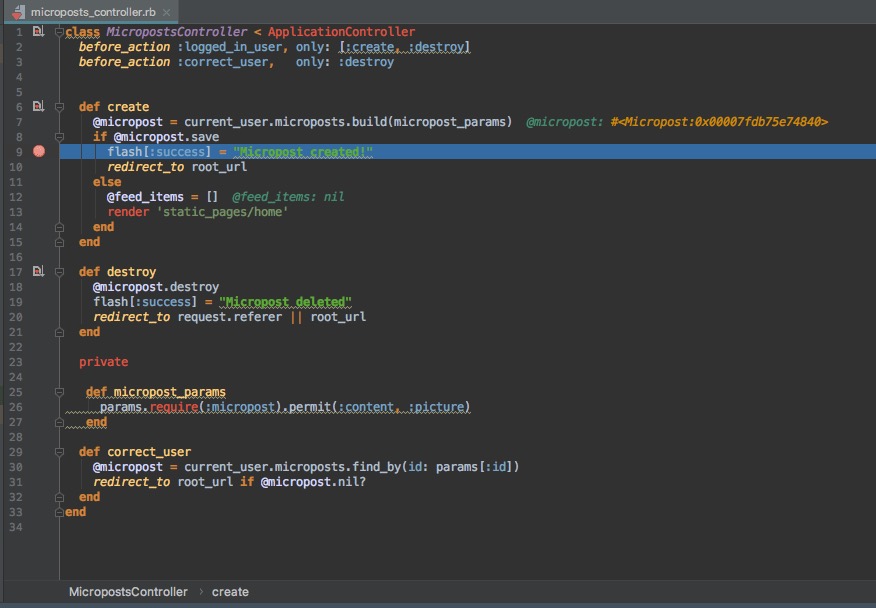
RubyMineの場合は、binding.pryを追記しなくてもデバッグできます。調べたい所にブレークポイントをおきます。こんな感じで。
次に実行からデバックを選択。
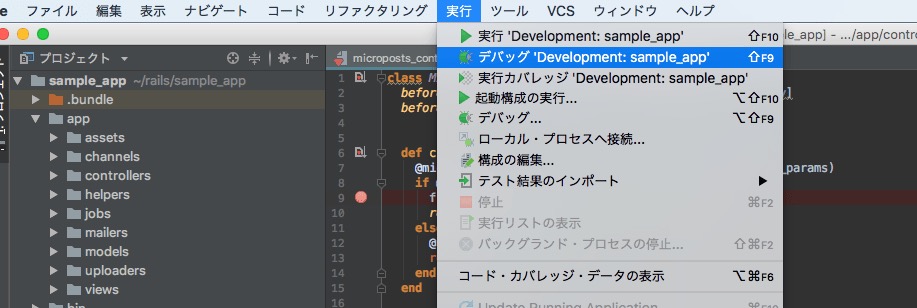
後はDebugコマンドを走らせるだけです。

まだまだ、RubyMine使いこなせていませんが、頑張って使いこなせるようになりたい。
以下は紹介コードです。
ご紹介により新規ライセンスに割引が適用されます
See Also